
Measure and Sew Borders
Quilt Bugg will talk about two types of borders below. Click on Butted Borders or Mitered Borders to learn more.
Butted Borders or Straight Sewn Quilt Borders
What Are Butted or Straight Sewn Borders?
This is the most popular type of border used by quilters. I prefer to sew the borders to the sides of the quilt first, then to the top and bottom edges.
Usually the four edges of an unfinished quilt top to will be slightly different in lengths. They get stretched out of shape while putting your top together. Never measure a quilt's outer edges to determine border length and do not just start sewing without cutting the borders first. Sewing on borders of varying lengths will give extra fullness resulting in a wavy border. This does not quilt out. Adding the borders correctly to your quilt will square up your quilt.
To Determine the Length of Side Borders
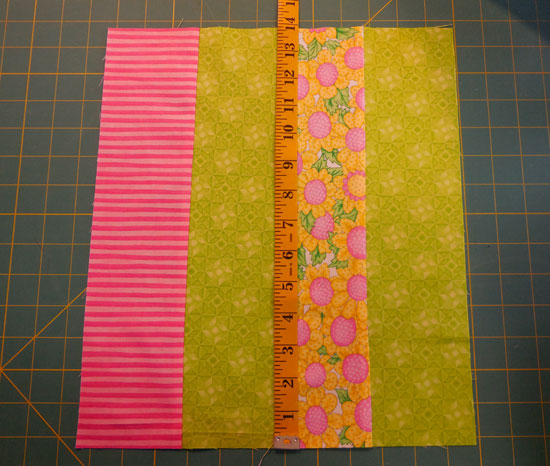
Measure the quilt starting at the top edge to the bottom edge through the middle row.
Cut two border strips this measurement using the width you want on the quilt. Strips are usually cut on the lengthwise grain and pieced for length. You can use the crosswise grain of the fabric if you don't want a pieced border, note these will be stretchy.
Fold the border in half to find its middle and pin to mark. Find the quilt's middle point on the side and pin to mark.
Place the border along the side of the quilt, right sides together and middles matched. Pin through both layers at the middle to keep from shifting.
Pin the end of the border to the end of the quilt edge. Repeat on opposite side of quilt.
Continue pinning the border to the edge of the quilt down the entire side. Ease in any fullness as you go.
Sew with the longest piece next to the feed dogs on your sewing machine. Remove pins as you go.
Press the seam allowance open or towards the border.
Use the same method to sew the remaining border to the other side.
To Determine Top & Bottom Border Length
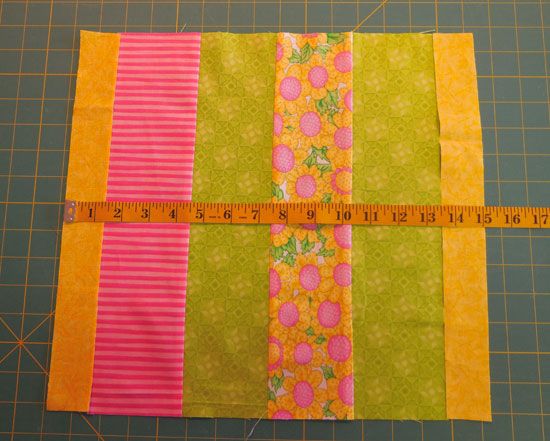
Measure the quilt from side-to-side through the middle row, including the width of the side borders.
Cut two border strips this measurement.
Fold a border in half to find its middle and pin to mark. Find the quilt's middle point on the top and pin to mark.
Place the border on the quilt, right sides together and middles matched. Pin through both layers at the middle to keep from shifting.
Continue matching and pinning the border to the quilt.
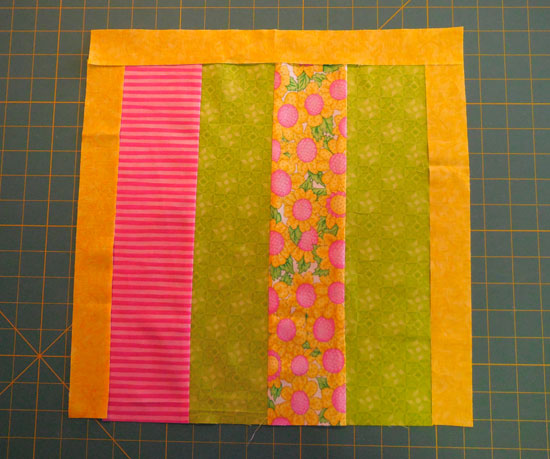
Sew the border to the quilt and press seam allowance.
Use the same method to add the bottom border.
Notes on Straight Sewn Borders
- Use this same method if you want to add another border.
- I prefer to sew my border strips together with seams diagonally across the border. Some quilters like to sew borders together at the ends.
- I prefer to add side borders first for appearance. You can add the top and bottom borders first and then your side borders.
Mitered Borders
To Cut and Sew Mitered Borders
Mitered borders give the appearance of a picture frame. They come together at an angle in the corner the quilt.
Cutting Borders for Mitering
Measure the width and length of your quilt at the center and write down these measurements.
I am using a baby quilt 36" by 48" with 3½" border. You will need to multiply the width of your border by 4 and ½" for seam allowances.
Example: 3½" x 4 = 14" (added to width or length to allow for miter)
I will need cut two borders 50" long and two borders 62" long
Attaching Borders for Mitering
Pin the middle of the border strip and match to middle edge of your quilt with right sides together. 7" of the strip should extend past the quilt edge on each side.
Sew the border strips to the edge of your quilt using a ¼" seam allowance. Start sewing ¼" from the edge of the quilt, backstitch to secure. End stitching ¼" from edge of quilt, backstitch to secure. Add other borders in same manner. Pin adjacent border strip out of your way so you don't stitch it to border you are sewing on.
Press seam allowances open or press the seam allowances toward the back of the quilt.
Mitering Quilt Borders
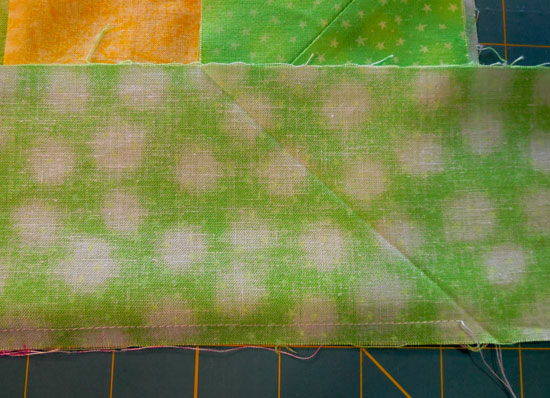
Lay the quilt right side up on your ironing board. Fold the quilt on the diagonal, right sides together. Match the border strips together and pin together.
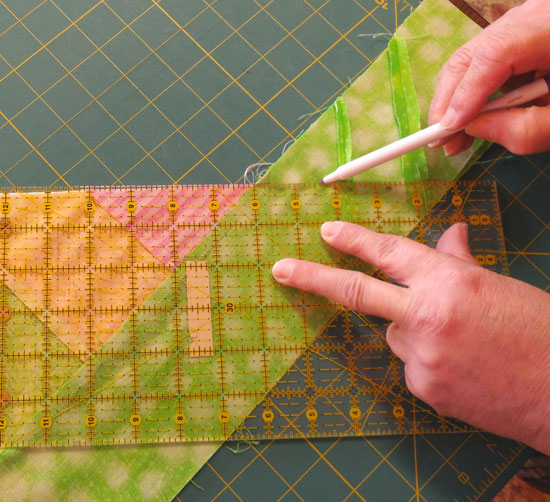
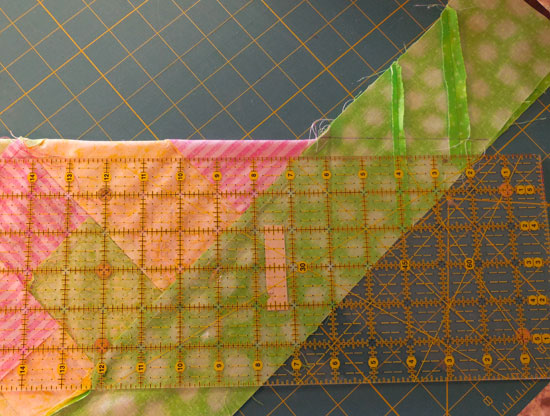
Place a ruler along the folded edge of the quilt with 45 degree mark along edge of border. Draw a line with a pencil along the ruler for your seam guide.
Stitch the two border strips together along the marked line, starting from the precise point where you left off stitching the border to the quilt which would be ¼" from quilt edge. Backstitch to secure your seam.
Unfold the quilt and check your seam for gaps, puckers or pleats. Use a seam ripper to take apart if necessary and stitch again.
Press open the seam on your mitered corner. Trim off the excess fabric and press seam.
Size troubles?

Take a look here, it may be just what you're looking for.

Block Party
Check out our block of the month!

Ask Riina!
Stuck and not sure what to do?